
Over the last few years, I’ve slowly started replacing more and more things in our home with homemade versions whenever I can. Sourdough, canned foods, fermented drinks…and soap. As a busy homeschooling mama & homesteader, I really love homemade soap because it’s simple to make and the yield makes the effort totally worth it. I get about 10-12 soap bars per recipe batch (depending on how thick you cut your bars).
When our does are in milk, we have plenty of milk to go around. Sometimes we have to find creative ways to use it all. One of the reasons I love goat milk soap so much is how gentle and nourishing it feels on the skin compared to many commercial soaps.
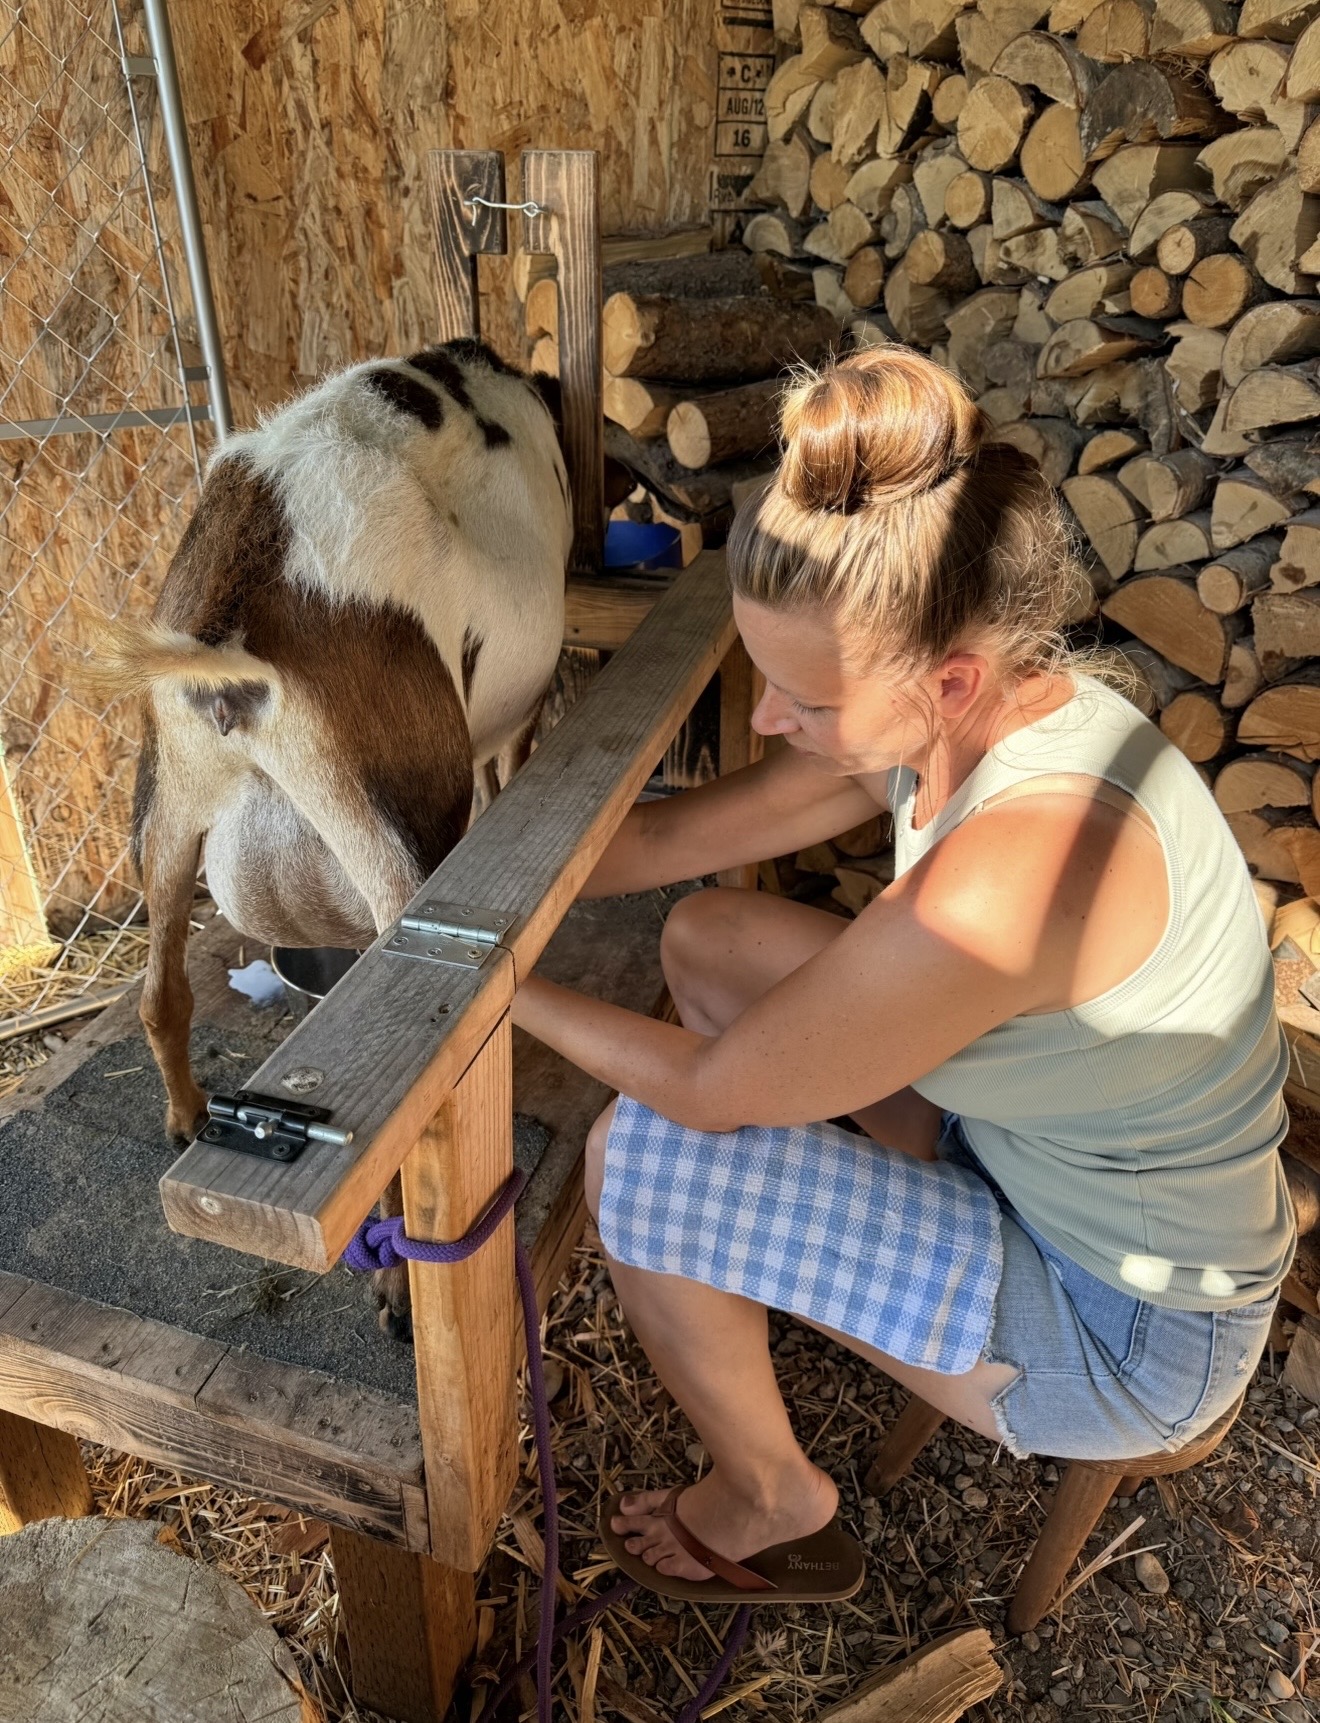
Goat milk naturally contains fats, vitamins, and lactic acid, which help create a creamy, moisturizing bar with a rich luxurious lather. I especially appreciate it during our long Alaska winters when dry skin becomes such a struggle in our home. Combined with tallow, this recipe creates a hard, long-lasting bar that feels incredibly conditioning without leaving my skin feeling stripped or tight afterward.
I’ll be honest, soapmaking intimidated me for a LONG time because of the lye. For several years, I did “melt & pour” soap only because it meant that I didn’t have to mess with the lye portion at all. But I do like to challenge myself, so I mustered up the courage to buy my first bottle of lye, some personal protective equipment, and I decided to give it a go, Joe standing by as my safety guy of course lol.
Once I finally sat down and learned the process, I realized it wasn’t nearly as scary as I thought it was. Like anything else, you just need to learn how to safely work with it. I’ve been making homemade soap from scratch with lye for about three years and it’s become such a fun creative outlet for me. There’s something primitive about it and I tend to be very fascinated with the old fashioned ways.
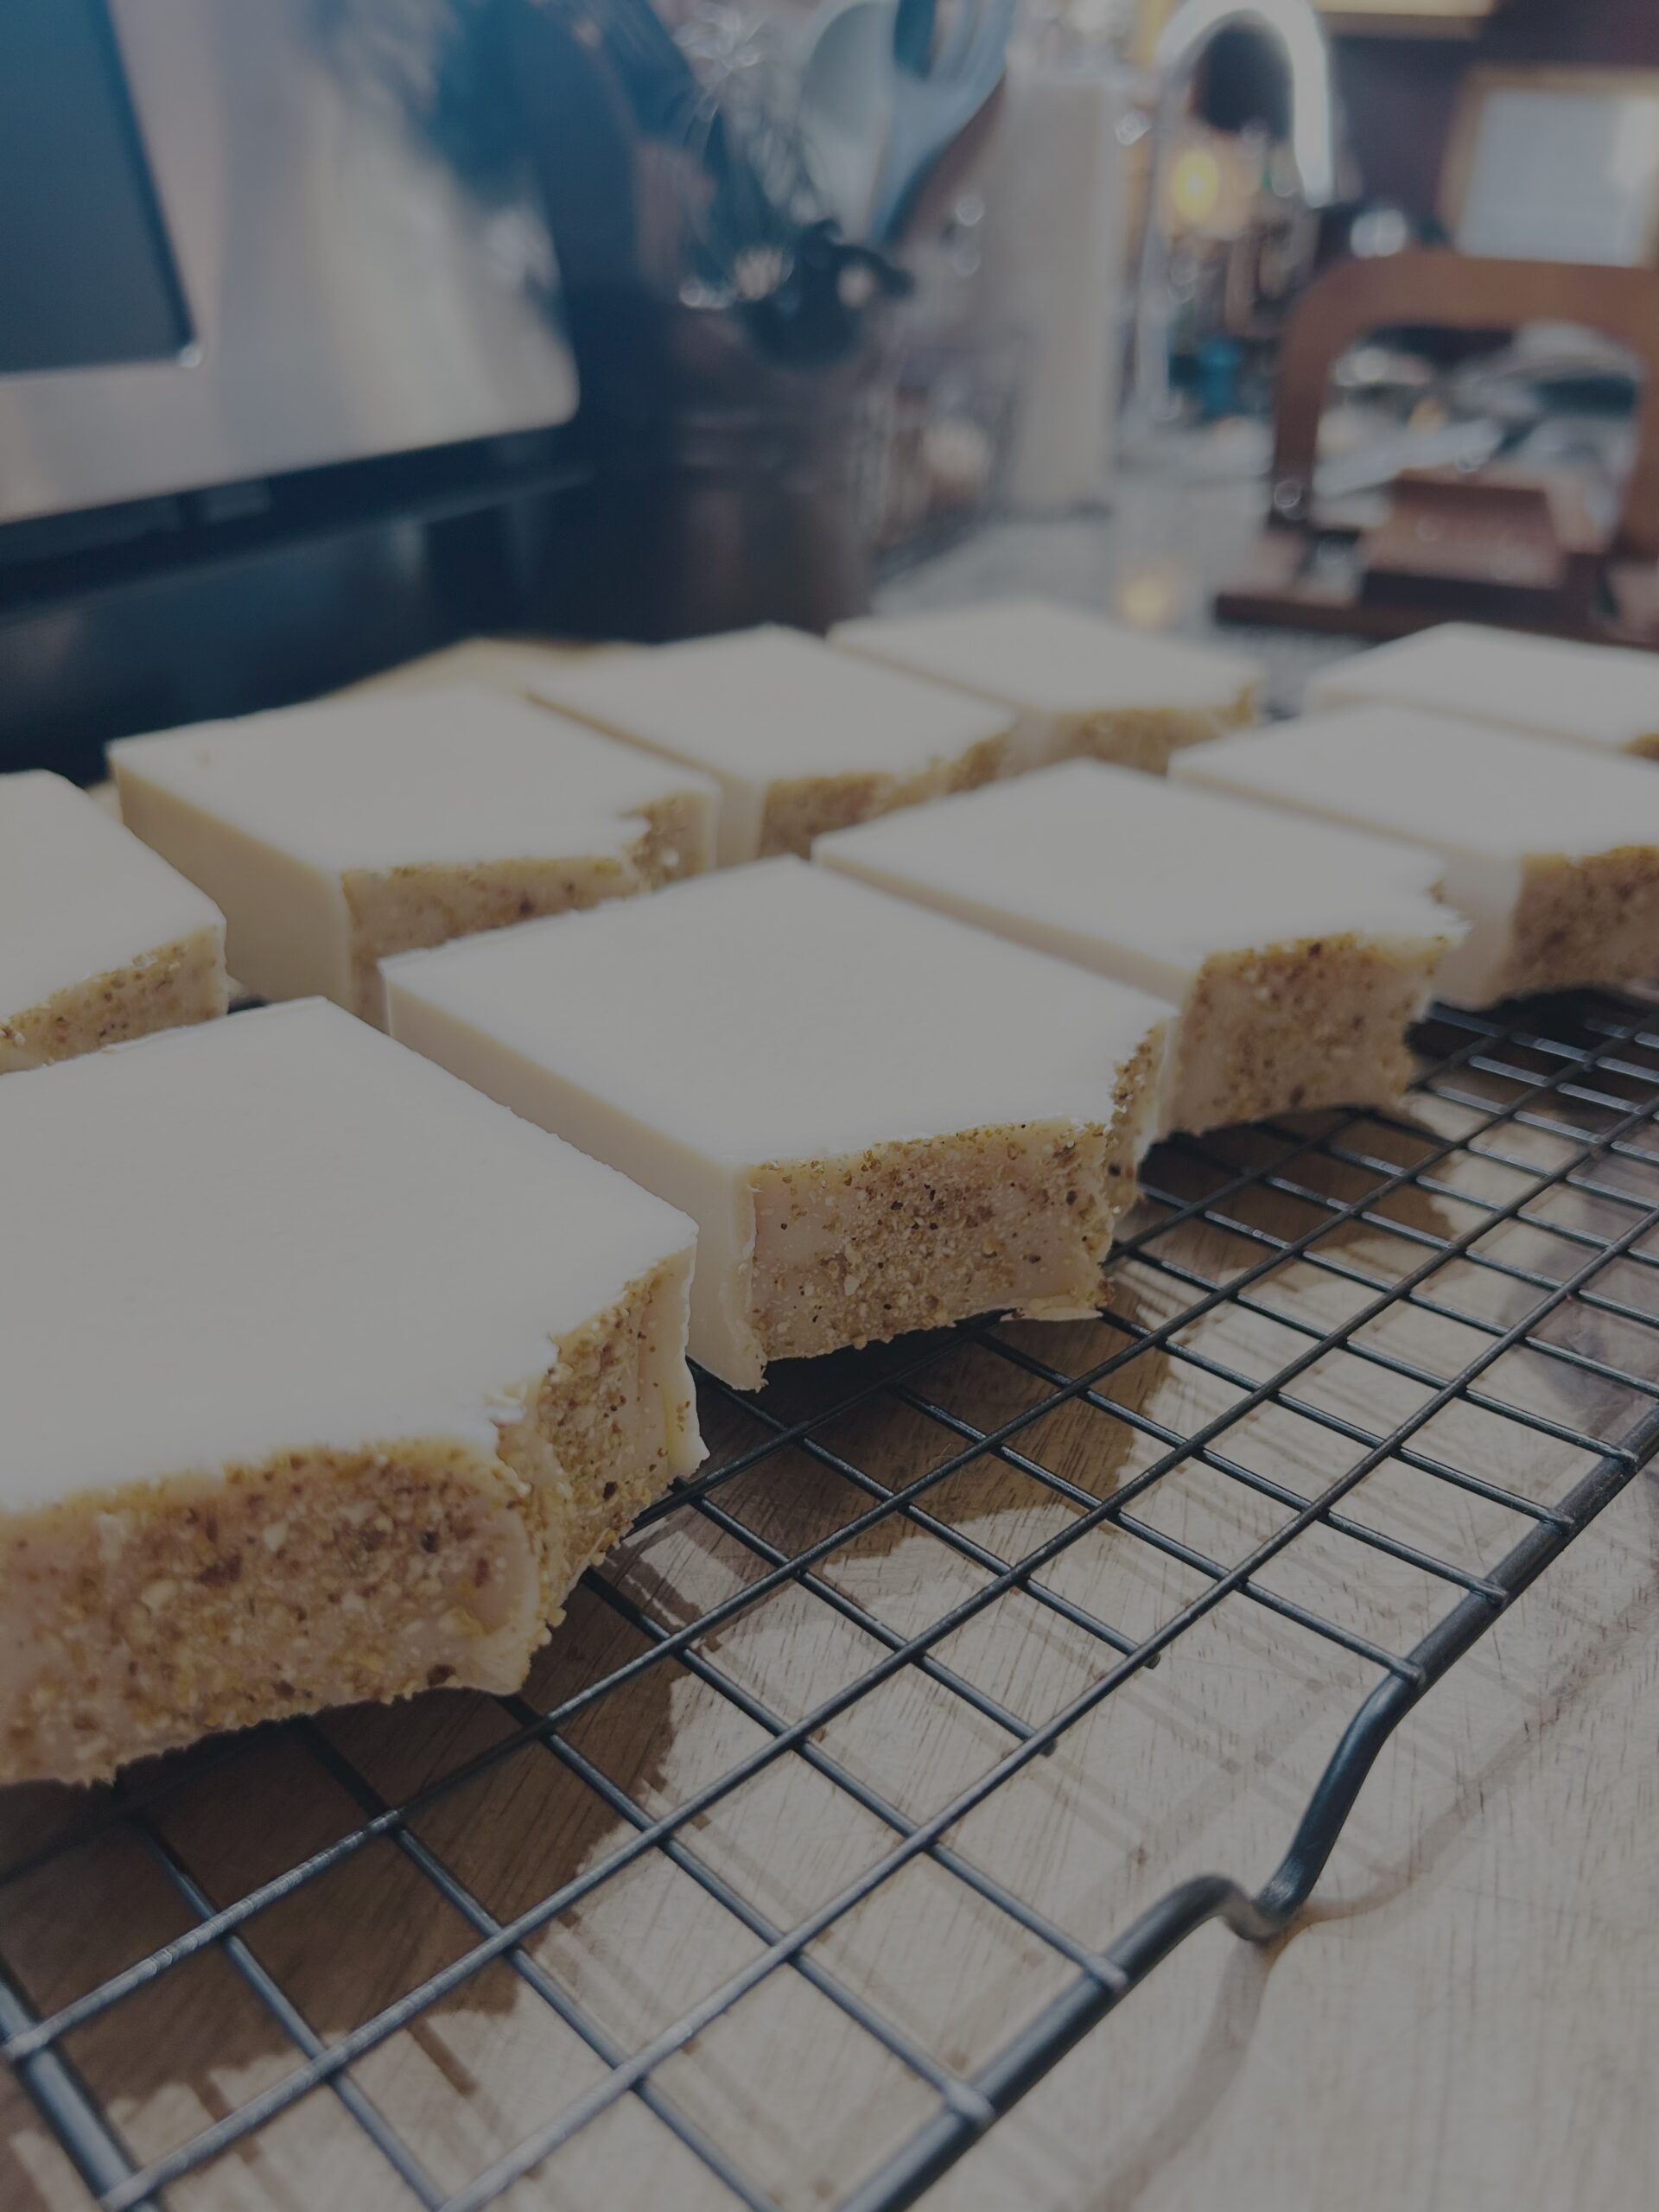
After experimenting with a few recipes, this one has become my favorite. It creates a hard, creamy bar with a rich lather that feels so luxurious on the skin. I also love that I can customize each batch with different essential oil blends, colors, herbs, or exfoliants depending on the season or mood. This is my go to recipe because it works every time, and if it ain’t broke don’t fix it right?
This recipe is beginner-friendly, simple, and has become a staple in our home.
Important safety note…
Before making cold process soap, please take time to learn basic lye safety.
Lye is caustic before the soap fully cures, so always:
– Wear gloves and eye protection
– Work in a well-ventilated area
– Use a digital scale for accurate measurements
– Never use aluminum bowls or utensils
– Always add lye TO liquid (never the other way around)
Once the soap finishes the saponification process and fully cures, there should be no active lye remaining in the final bars.
Supplies needed…
- Digital scale
- Immersion blender
- Large heat safe bowls or containers
- Silicone soap mold
- Gloves & eye protection
- thermometer
- Spatula/spoon
- Spray bottle with rubbing alcohol
- Soap cutter
Ingredients…
- 24 oz Tallow (I use 100% organic beef tallow)
- 6 oz Coconut oil (Solid oil not liquid oil)
- 2 oz Castor oil
- 4.54 oz Sodium hydroxide (lye)
- 12.16 oz Frozen goat milk (Store bought milk may be used, just make sure it’s unflavored & full fat)
- 1 to 1.5 oz Essential oils of choice for fragrance
If you change any of the ingredient amounts in this recipe, it’s best to run the ingredients through a soap calculator to ensure that the lye ratio is correct. My recipe has already been calculated correctly. Changing amounts in the recipe can throw the whole recipe off. Here’s a link to the soap calculator that I use. Input your ingredients & it will help calculate the correct ratios for you based on your ingredients. 🙂 https://soapcalc.net/#google_vignette
Some of my favorite essential oil blends…
Cozy woodsy blend
- Cedarwood
- Siberian Fir
- Rosemary
Fresh citrus blend
- Sweet orange
- Cedarwood
Feminine floral blend
- Lavender
- Geranium
- Cedarwood
Instructions…
Step 1: Prepare your goat milk
I begin by freezing my goat milk the night before. I just pour the correct amount per the recipe into an ice cube tray and put it into the freezer. This helps prevent scorching when the lye is added later.
Step 2: Melt oils
In a heat safe bowl, melt together the tallow, coconut oil and castor oil. I use a glass bowl for this and just place it in the microwave to melt them all together. Keep an eye on it though, it doesn’t take long to melt down. Check the temperature of the oils once they’re melted. You want the oils to be 100F. If it’s warmer than that, you will need to let it cool to 100F before proceeding. Set aside.
Step 3: Combine goat milk & lye
Place your frozen milk cubes in a separate heat safe dish. Slowly, sprinkle the lye into the frozen milk a little at a time while stirring carefully. Make sure you have your gloves & eye protection on and don’t hover over the bowl. You don’t want to breathe in any fumes. I always open my kitchen door and a window for ventilation prior to this step. The mixture will heat up as the lye dissolves and eventually you will have a creamy lye/milk solution.
Continue to stir the lye/milk solution until the temperature no longer rises. If it’s still rising, it’s not ready. I use Joe’s digital temperature gun for my soap making, it makes it so much faster and less messy. Once your lye is at a stable temperature, you’re going to mix the lye/milk solution into the oils.
Step 4: Combine oils with lye/milk solution
Slowly pour the lye/milk solution into the oils using an emersion blender. Pulse and stir until the soap reaches “trace.” This happens when the batter thickens slightly to a pudding consistency. Don’t over blend, it thickens faster than you think!
Step 5: Add fragrance & extras
Now you can stir in your essential oils and any optional add-ins like: oatmeal, poppy seeds, dried herbs, coffee grounds, coloring, etc.,
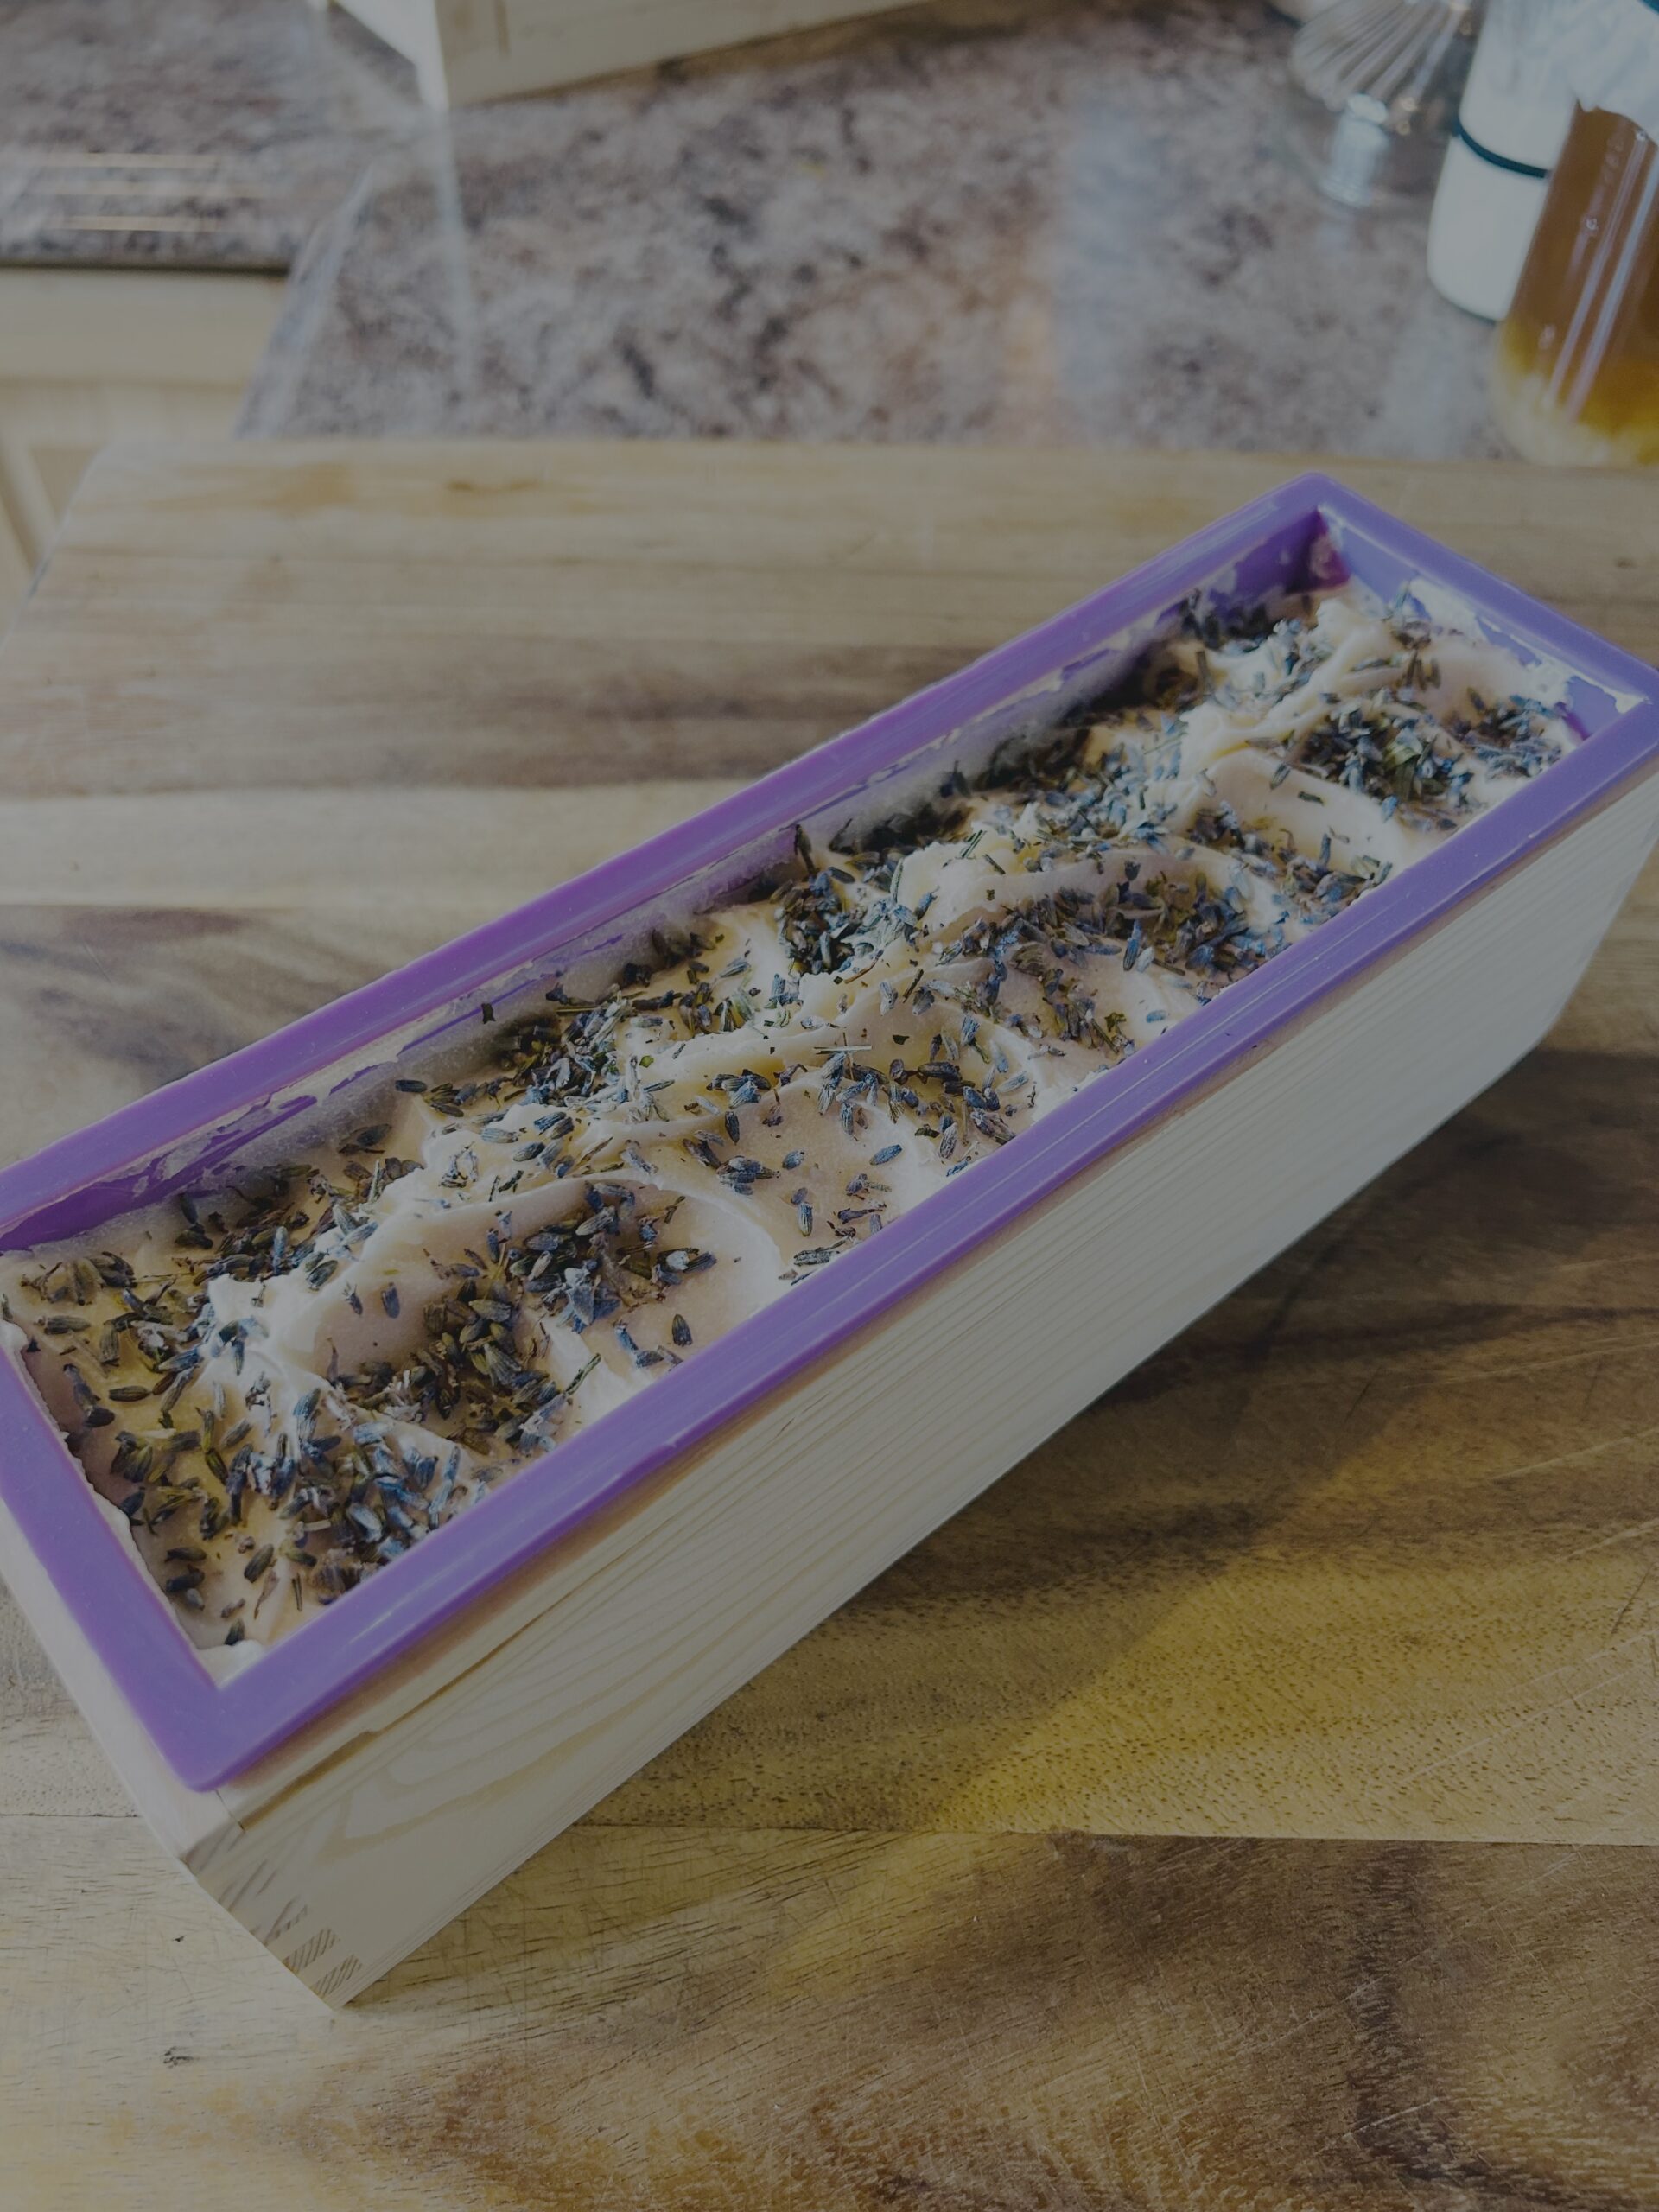
Step 6: Pour into mold
Pour soap batter into your mold & smooth the top. I lift and drop my mold on the counter a few times to ensure the batter spreads evenly to all of the corners. I like to use a spoon and pull up the soap batter to the center for a pretty “wave” look and then I’ll usually sprinkle dried herbs or dried orange peels to the top of the bars for a rustic look. This part is so fun and allows you to be creative. There are so many fragrance combinations and fun ideas of how to color and swirl your colors, etc., just have fun with it.
Spray lightly with rubbing alcohol to help reduce soda ash from forming on the finished bars.
Step 7: Let soap set
Place your soap in the refrigerator or in a cool place (I use my basement) for 24 hours before unmolding and cutting into the bars.
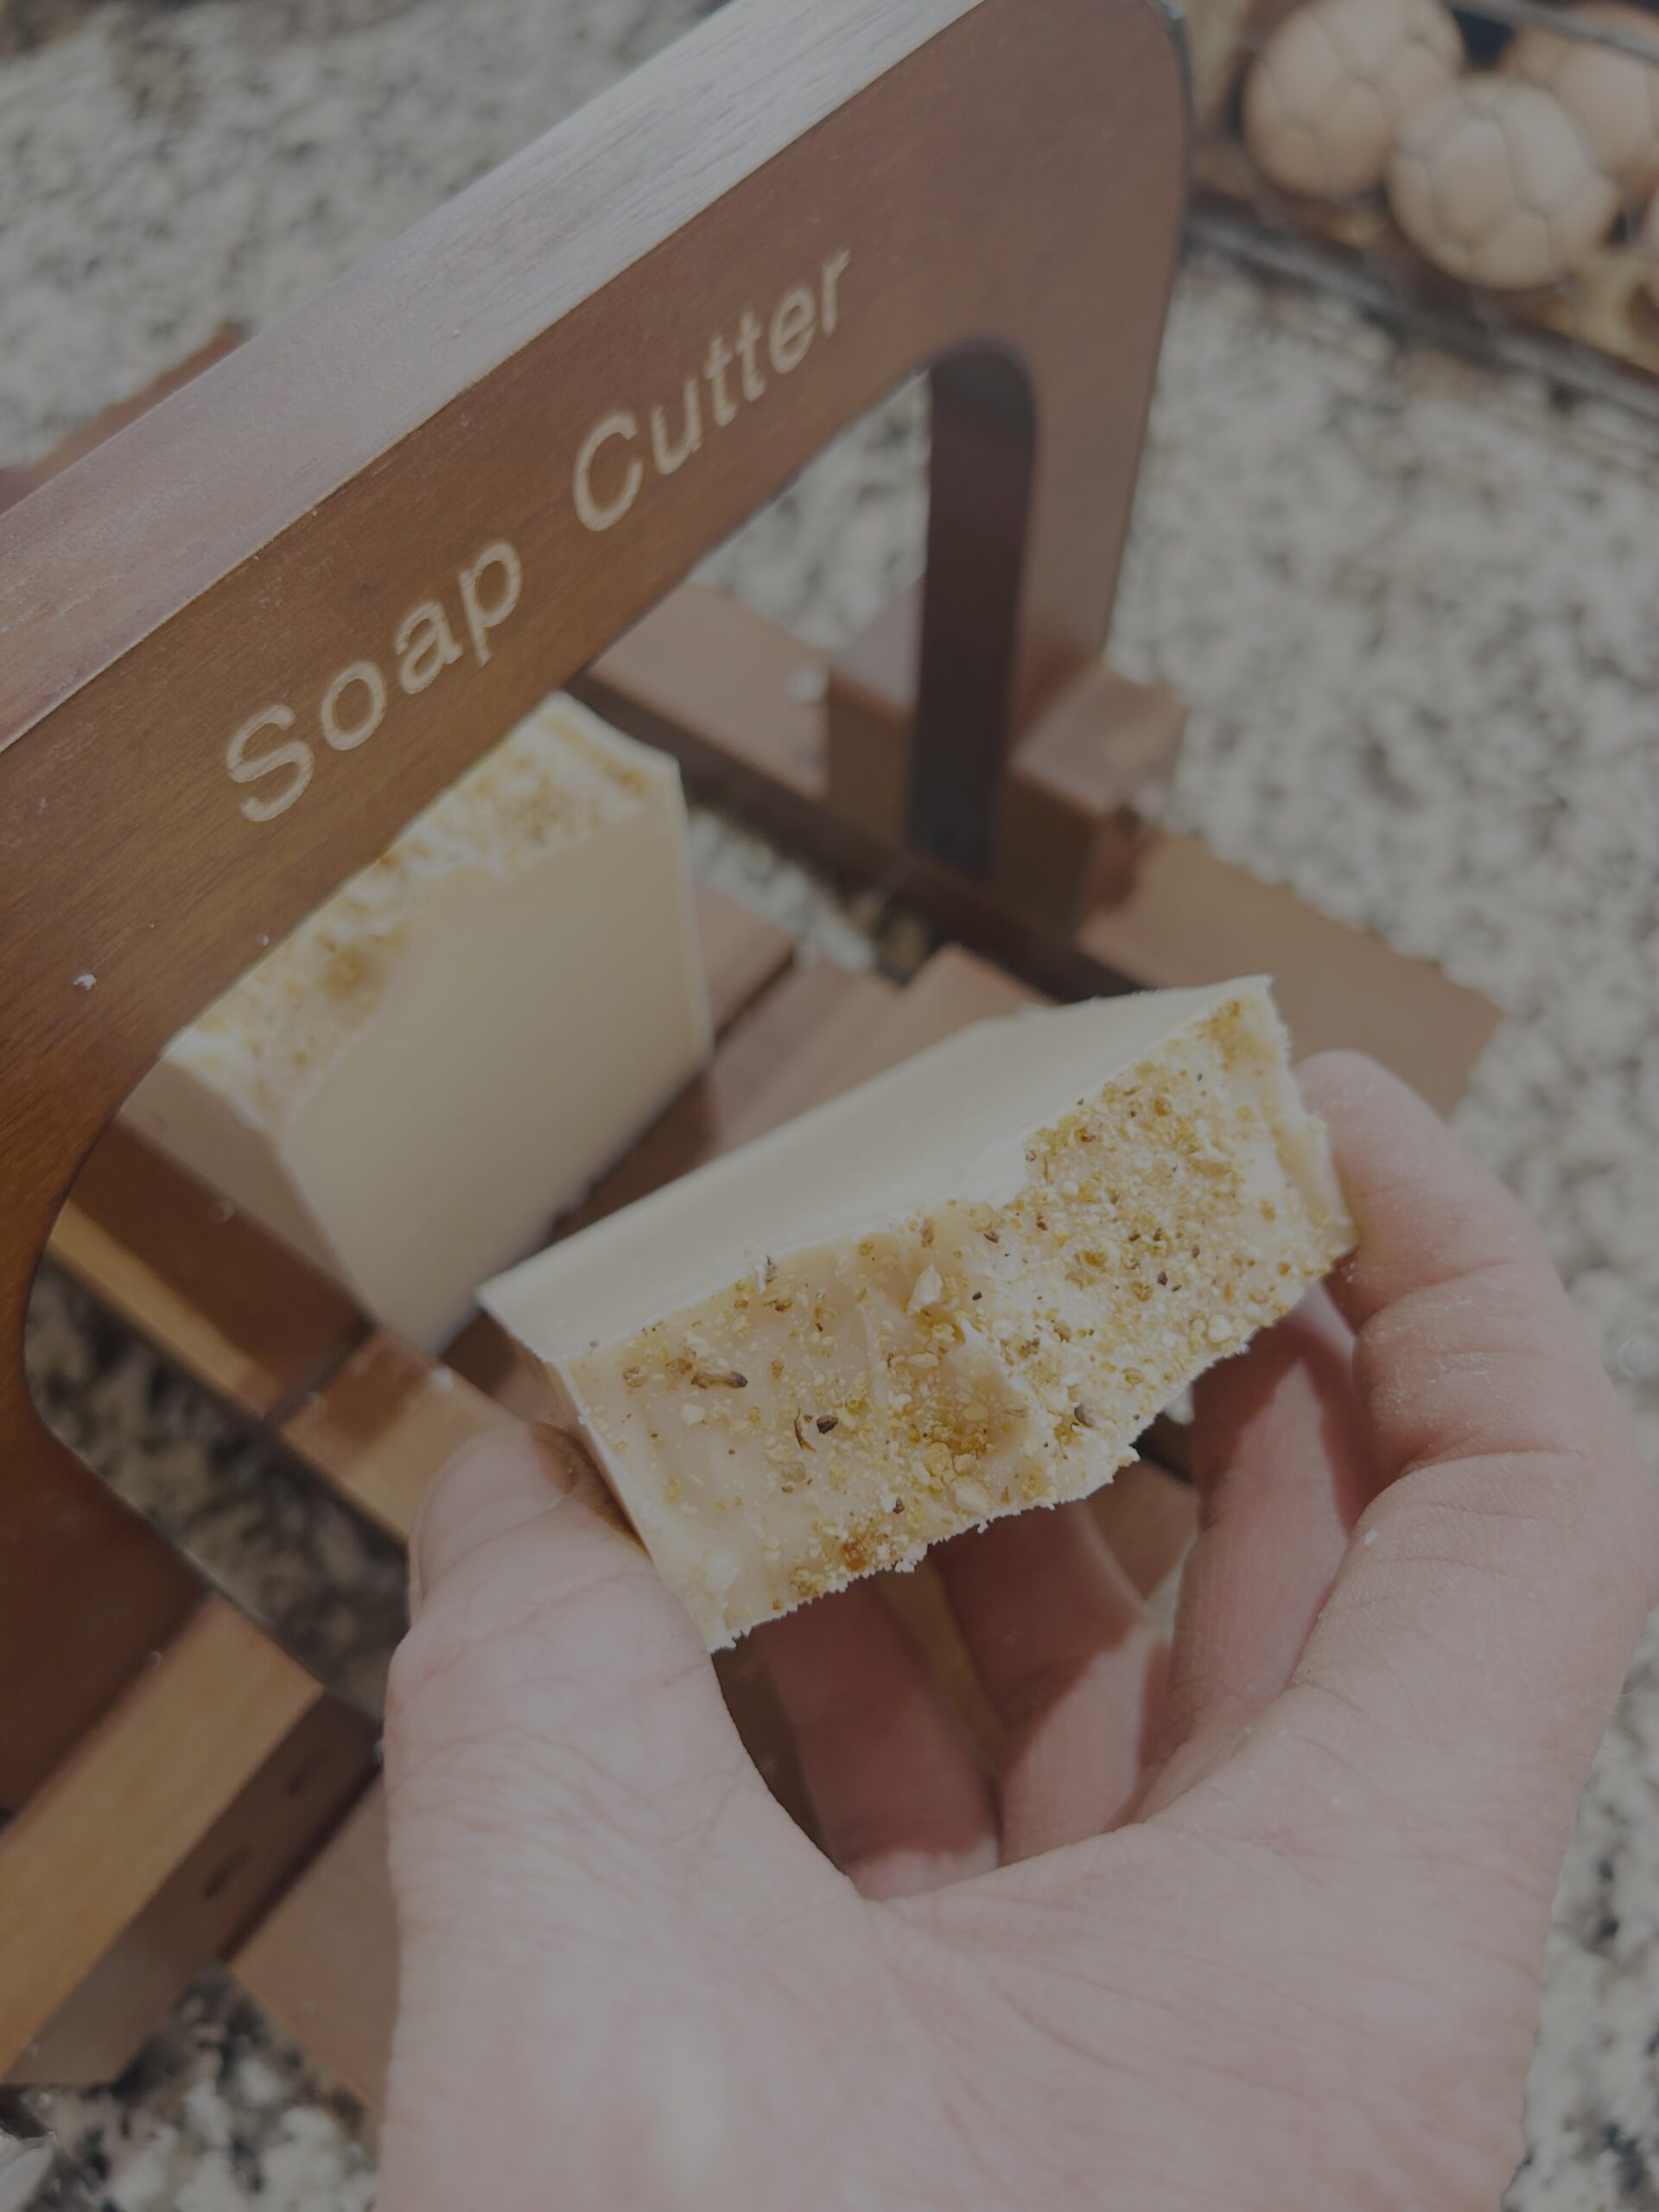
Step 8: Cure
After the soap bars have set for 24 hours, unmold them and slice them with a soap cutter. Place bars on a rack or shelf with airflow and allow them to cure for 4-6 weeks.
This step is important! As the bars cure they become: harder, milder, longer lasting, and develop a better lather.
Final thoughts
There’s just something so satisfying about making simple things by hand. I honestly never expected homemade soap to become something I enjoyed this much, but I find myself planning my next batch before the current one is even cured.
If you end up trying this recipe, let me know what scent combinations you love. That’s one of my favorite parts of soap making — every batch can feel a little different depending on the season.
Watch me make a batch of goat milk soap in this video! 🙂

8 Responses
Thank you for sharing your life with us. We love Saturday when we see your posts. I’ve been watching since before you moved from Virginia.
Thank you both for your service to our country. My husband is 100 % disabled from being in Vietnam.
Question for you. Where do you get your tallow from? I’m wanting switch my cooking oil. I’ve been doing a lot of research but can’t decide what company is really the best.
Thanks again for teaching and sharing with us.
Hi! I actually buy my 100% organic beed tallow from Amazon. 🙂
Hi! I buy my tallow from Amazon. 100% organic beef tallow. 🙂
Hi, I watch you every week I love your videos. Was just wondering if you have a recipe for liquid soap. Another thing does it have to be fresh goats milk,?
Hi! Yes, you can absolutely use store bought goat’s milk! Just make sure it’s unflavored and preferably full fat. 🙂
I actually don’t, I’m sorry! For liquid soap, I just buy straight Castile soap, minimal ingredients & you can even get it scented with essential oils. I buy my liquid Castile soap on Amazon. I use it for hand soap and our dish soap. 🙂 Also, it doesn’t have to be “fresh” goats milk for your soap. I wouldn’t use really old milk though, but that’s just me. I typically use fresh milk & freeze into cubes for my soap recipes. 🙂
Hi Tina, i was wondering if I could use powdered goats milk instead?
Absolutely! Just reconstitute the milk like normal & follow the rest of my recipe instructions! 🙂